UICollectionView
文章目录
- UICollectionView
- UICollectionView的设计理念
- UICollectionView的工作流程
- 和tableView区别
- collectionView重要的方法
- **注意!!!**
- 原因:
- collectionView需要遵守的协议
- 然后来看一个最简单应用的demo(==九宫格==):
- 自定义cell
- 自定义使用FlowLayout进行灵活布局
- 🐮1.瀑布式布局
- 🐮2.圆环式布局
UICollectionView是一个功能十分强大的控件,用法上和UITableView比较相似。
UICollectionView的设计理念
UICollectionView是内容和布局完全分离的设计,UICollectionView负责界面部分,UICollectionViewlayout负责UICollectionView的布局,具体的每个元素的布局就交给UICollectionViewLayoutAttributes,另外attributes也是可以进行扩展的,比如需要加入maskView或者改变layer的属性,都可以在attributes里面进行自己的定义。
UICollectionView的工作流程
当UICollectionView显示内容时,先从数据源获取cell,然后交给UICollectionView。再从UICollectionViewLayout获取对应的layout attributes(布局属性)。最后,根据每个cell对应的layout attributes(布局属性)来对cell进行布局,生成了最终的界面。而用户交互的时候,都是通过Delegate来进行交互。当然,上面只是布局cell,但是UICollectionView内部还有Supplementary View和Decoration View,也可以对其进行布局。
和tableView区别
UICollectionView是比UITableView更加强大的控件,有如下几个方面:
- 支持水平和垂直两个方向上的布局
- 通过layout配置方式进行布局
- CollectionView中的item大小和位置可以自定义
- 通过layout布局回调的代理方法,可以动态的定制每一个item的大小和collection的大体布局属性
- 可以完全自定义一套layout布局方案,实现意想不到的效果
collectionView重要的方法
初始化布局:
//layout布局类
    UICollectionViewFlowLayout *layout = [[UICollectionViewFlowLayout alloc] init];
设置布局是垂直还是水平:
//布局方向为垂直流布局
    layout.scrollDirection = UICollectionViewScrollDirectionVertical;
设置每个item的大小:
    //设置每个item的大小
    layout.itemSize = CGSizeMake(120, 100);
collectionView的初始化:
self.collectionView = [[UICollectionView alloc] initWithFrame:self.view.frame collectionViewLayout:layout];
注册item类型:
[self.collectionView registerClass:[UICollectionViewCell class] forCellWithReuseIdentifier:@"cell"];
注意!!!
tableView的cell可以有注册和不注册两种方法,关于tableView的注册和不注册可以参考—— 自定义cell
但是collectionView只能注册!!!
原因:
iOS6之后的新类,统一从cell复用池获取cell,没有提供返回nil的方式。
UICollectionView的dataSource中的item的注册,itme的注册和tableview中cell的创建是不同的,cell的创建是在cell中,而itme的注册是在viewDidLoad中,因为系统中加载好了tableview后再去加载cell,而如果加载界面时没有item会报错。
collectionView需要遵守的协议
和tableView差不多
UICollectionViewDelegate, UICollectionViewDataSource
🎇UICollectionViewDelegate协议:
是否允许某个item的高亮,返回NO,则不能进入高亮状态
- (BOOL)collectionView:(UICollectionView *)collectionView shouldHighlightItemAtIndexPath:(NSIndexPath *)indexPath;
当item高亮时触发的方法 - (void)collectionView:(UICollectionView *)collectionView didHighlightItemAtIndexPath:(NSIndexPath *)indexPath;
结束高亮状态时触发的方法 - (void)collectionView:(UICollectionView *)collectionView didUnhighlightItemAtIndexPath:(NSIndexPath *)indexPath;
是否可以选中某个item,返回NO,则不能选中 - (BOOL)collectionView:(UICollectionView *)collectionView shouldSelectItemAtIndexPath:(NSIndexPath *)indexPath;
是否可以取消选中某个item - (BOOL)collectionView:(UICollectionView *)collectionView shouldDeselectItemAtIndexPath:(NSIndexPath *)indexPath;
已经选中某个item时触发的方法 - (void)collectionView:(UICollectionView *)collectionView didSelectItemAtIndexPath:(NSIndexPath *)indexPath;
取消选中某个item时触发的方法 - (void)collectionView:(UICollectionView *)collectionView didDeselectItemAtIndexPath:(NSIndexPath *)indexPath;
将要加载某个item时调用的方法 - (void)collectionView:(UICollectionView *)collectionView willDisplayCell:(UICollectionViewCell *)cell forItemAtIndexPath:(NSIndexPath *)indexPath NS_AVAILABLE_IOS(8_0);
将要加载头尾视图时调用的方法 - (void)collectionView:(UICollectionView *)collectionView willDisplaySupplementaryView:(UICollectionReusableView *)view forElementKind:(NSString *)elementKind atIndexPath:(NSIndexPath *)indexPath NS_AVAILABLE_IOS(8_0);
已经展示某个item时触发的方法 - (void)collectionView:(UICollectionView *)collectionView didEndDisplayingCell:(UICollectionViewCell *)cell forItemAtIndexPath:(NSIndexPath *)indexPath;
已经展示某个头尾视图时触发的方法 - (void)collectionView:(UICollectionView *)collectionView didEndDisplayingSupplementaryView:(UICollectionReusableView *)view forElementOfKind:(NSString *)elementKind atIndexPath:(NSIndexPath *)indexPath;
UICollectionView进行重新布局时调用的方法 - (nonnull UICollectionViewTransitionLayout *)collectionView:(UICollectionView *)collectionView transitionLayoutForOldLayout:(UICollectionViewLayout *)fromLayout newLayout:(UICollectionViewLayout *)toLayout;
以上协议都是可选实现的
🎇UICollectionViewDataSource协议
必须实现的方法:
设置每个分区的item数
- (NSInteger)collectionView:(UICollectionView *)collectionView numberOfItemsInSection:(NSInteger)section;
设置返回每个item的属性 - (UICollectionViewCell *)collectionView:(UICollectionView *)collectionView cellForItemAtIndexPath:(NSIndexPath *)indexPath;
可选实现的方法:
设置分区数,虽然这个方法是可选的,一般我们都会去实现,不去设置它的话,它的默认值为1
- (NSInteger)numberOfSectionsInCollectionView:(UICollectionView *)collectionView;
对头视图或者尾视图进行设置 - (UICollectionReusableView *)collectionView:(UICollectionView *)collectionView viewForSupplementaryElementOfKind:(NSString *)kind atIndexPath:(NSIndexPath *)indexPath;
设置某个item是否可以被移动,返回NO则不能移动 - (BOOL)collectionView:(UICollectionView *)collectionView canMoveItemAtIndexPath:(NSIndexPath *)indexPath NS_AVAILABLE_IOS(9_0);
移动item的时候,会调用这个方法 - (void)collectionView:(UICollectionView *)collectionView moveItemAtIndexPath:(NSIndexPath )sourceIndexPath toIndexPath:(NSIndexPath)destinationIndexPath;
然后来看一个最简单应用的demo(九宫格):
//
// ViewController.m
// UICollectionView测试
//
// Created by 翟旭博 on 2022/11/7.
//
#import "ViewController.h"
#define SIZE_WIDTH ([UIScreen mainScreen].bounds.size.width)
#define SIZE_HEIGHT ([UIScreen mainScreen].bounds.size.height)
@interface ViewController () <UICollectionViewDelegate, UICollectionViewDataSource>
@property (nonatomic, strong) UICollectionView *collectionView;
@end
@implementation ViewController
- (void)viewDidLoad {
[super viewDidLoad];
self.view.backgroundColor = [UIColor grayColor];
//layout布局类
UICollectionViewFlowLayout *layout = [[UICollectionViewFlowLayout alloc] init];
//布局方向为垂直流布局
layout.scrollDirection = UICollectionViewScrollDirectionVertical;
//设置每个item的大小
layout.itemSize = CGSizeMake(SIZE_WIDTH / 3 - 10, SIZE_WIDTH / 3 - 10);
self.collectionView = [[UICollectionView alloc] initWithFrame:self.view.frame collectionViewLayout:layout];
//代理设置
self.collectionView.delegate = self;
self.collectionView.dataSource = self;

[self.collectionView registerClass:[UICollectionViewCell class] forCellWithReuseIdentifier:@"cell"];
[self.view addSubview:_collectionView];
}
//返回分区个数
- (NSInteger)numberOfSectionsInCollectionView:(UICollectionView *)collectionView {
return 1;
}
//返回每个分区的item个数
- (NSInteger)collectionView:(UICollectionView *)collectionView numberOfItemsInSection:(NSInteger)section {
return 30;
}
//返回每个item
- (UICollectionViewCell *)collectionView:(UICollectionView *)collectionView cellForItemAtIndexPath:(NSIndexPath *)indexPath {
UICollectionViewCell *cell = [collectionView dequeueReusableCellWithReuseIdentifier:@"cell" forIndexPath:indexPath];
cell.backgroundColor = [UIColor colorWithRed:arc4random() % 255 / 255.0 green:arc4random() % 255 / 255.0 blue:arc4random() % 250 / 250.0 alpha:1];
return cell;
}
@end
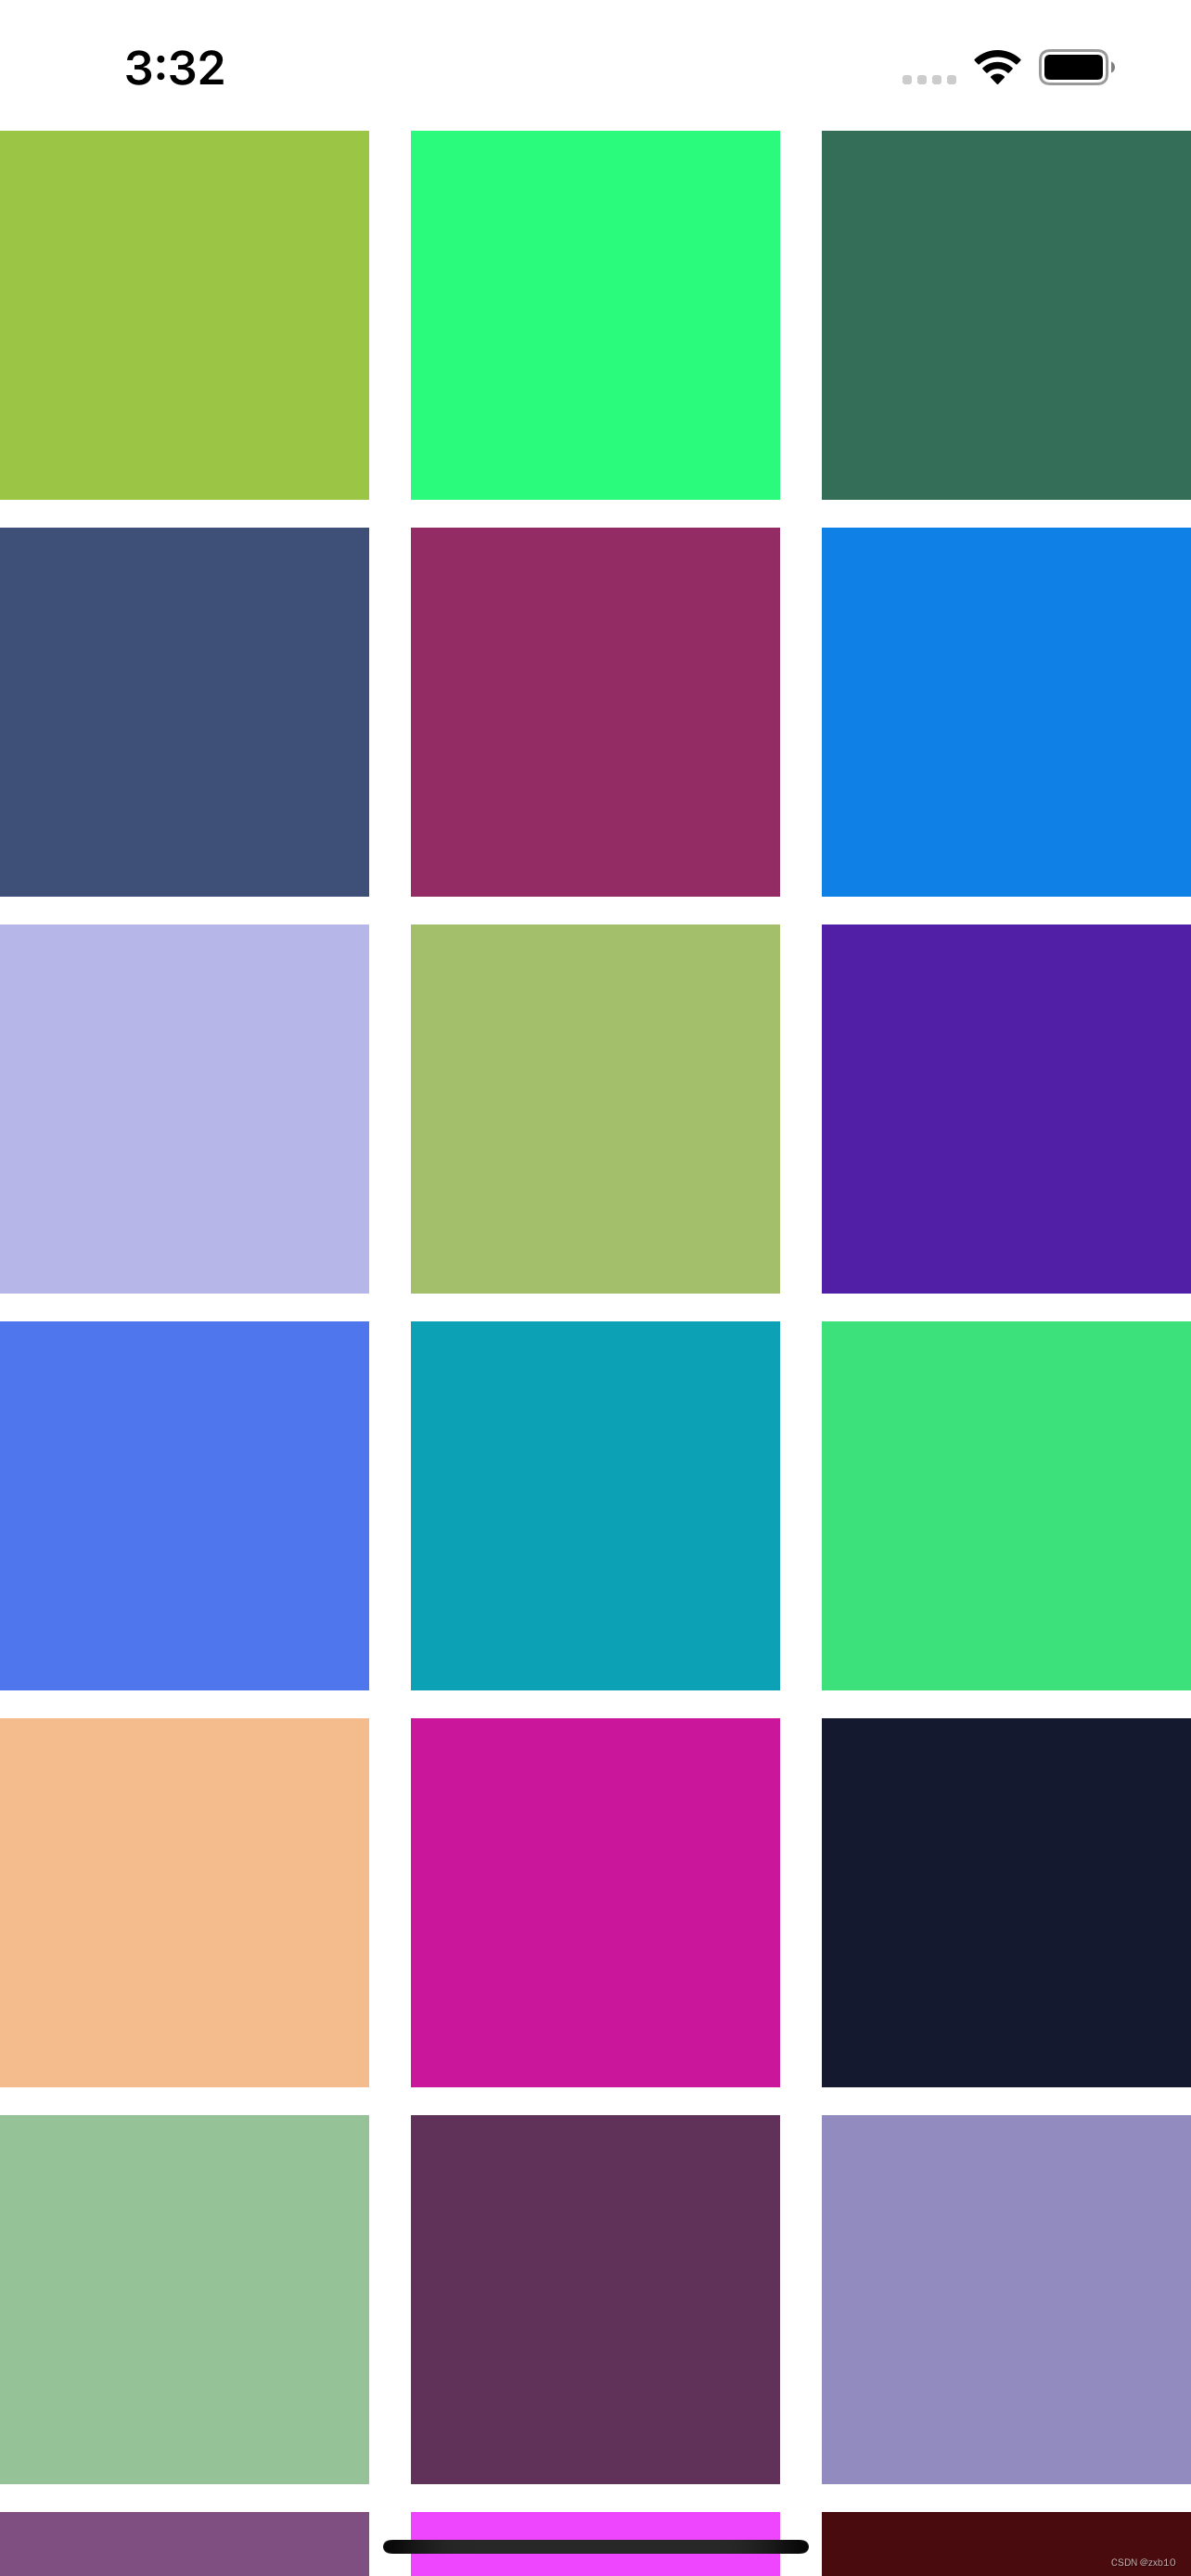
我们这个设置的大小大约是屏幕三分之一,就会自动的三个item为一行
我们来改一下它的size:
layout.itemSize = CGSizeMake(200, 200);
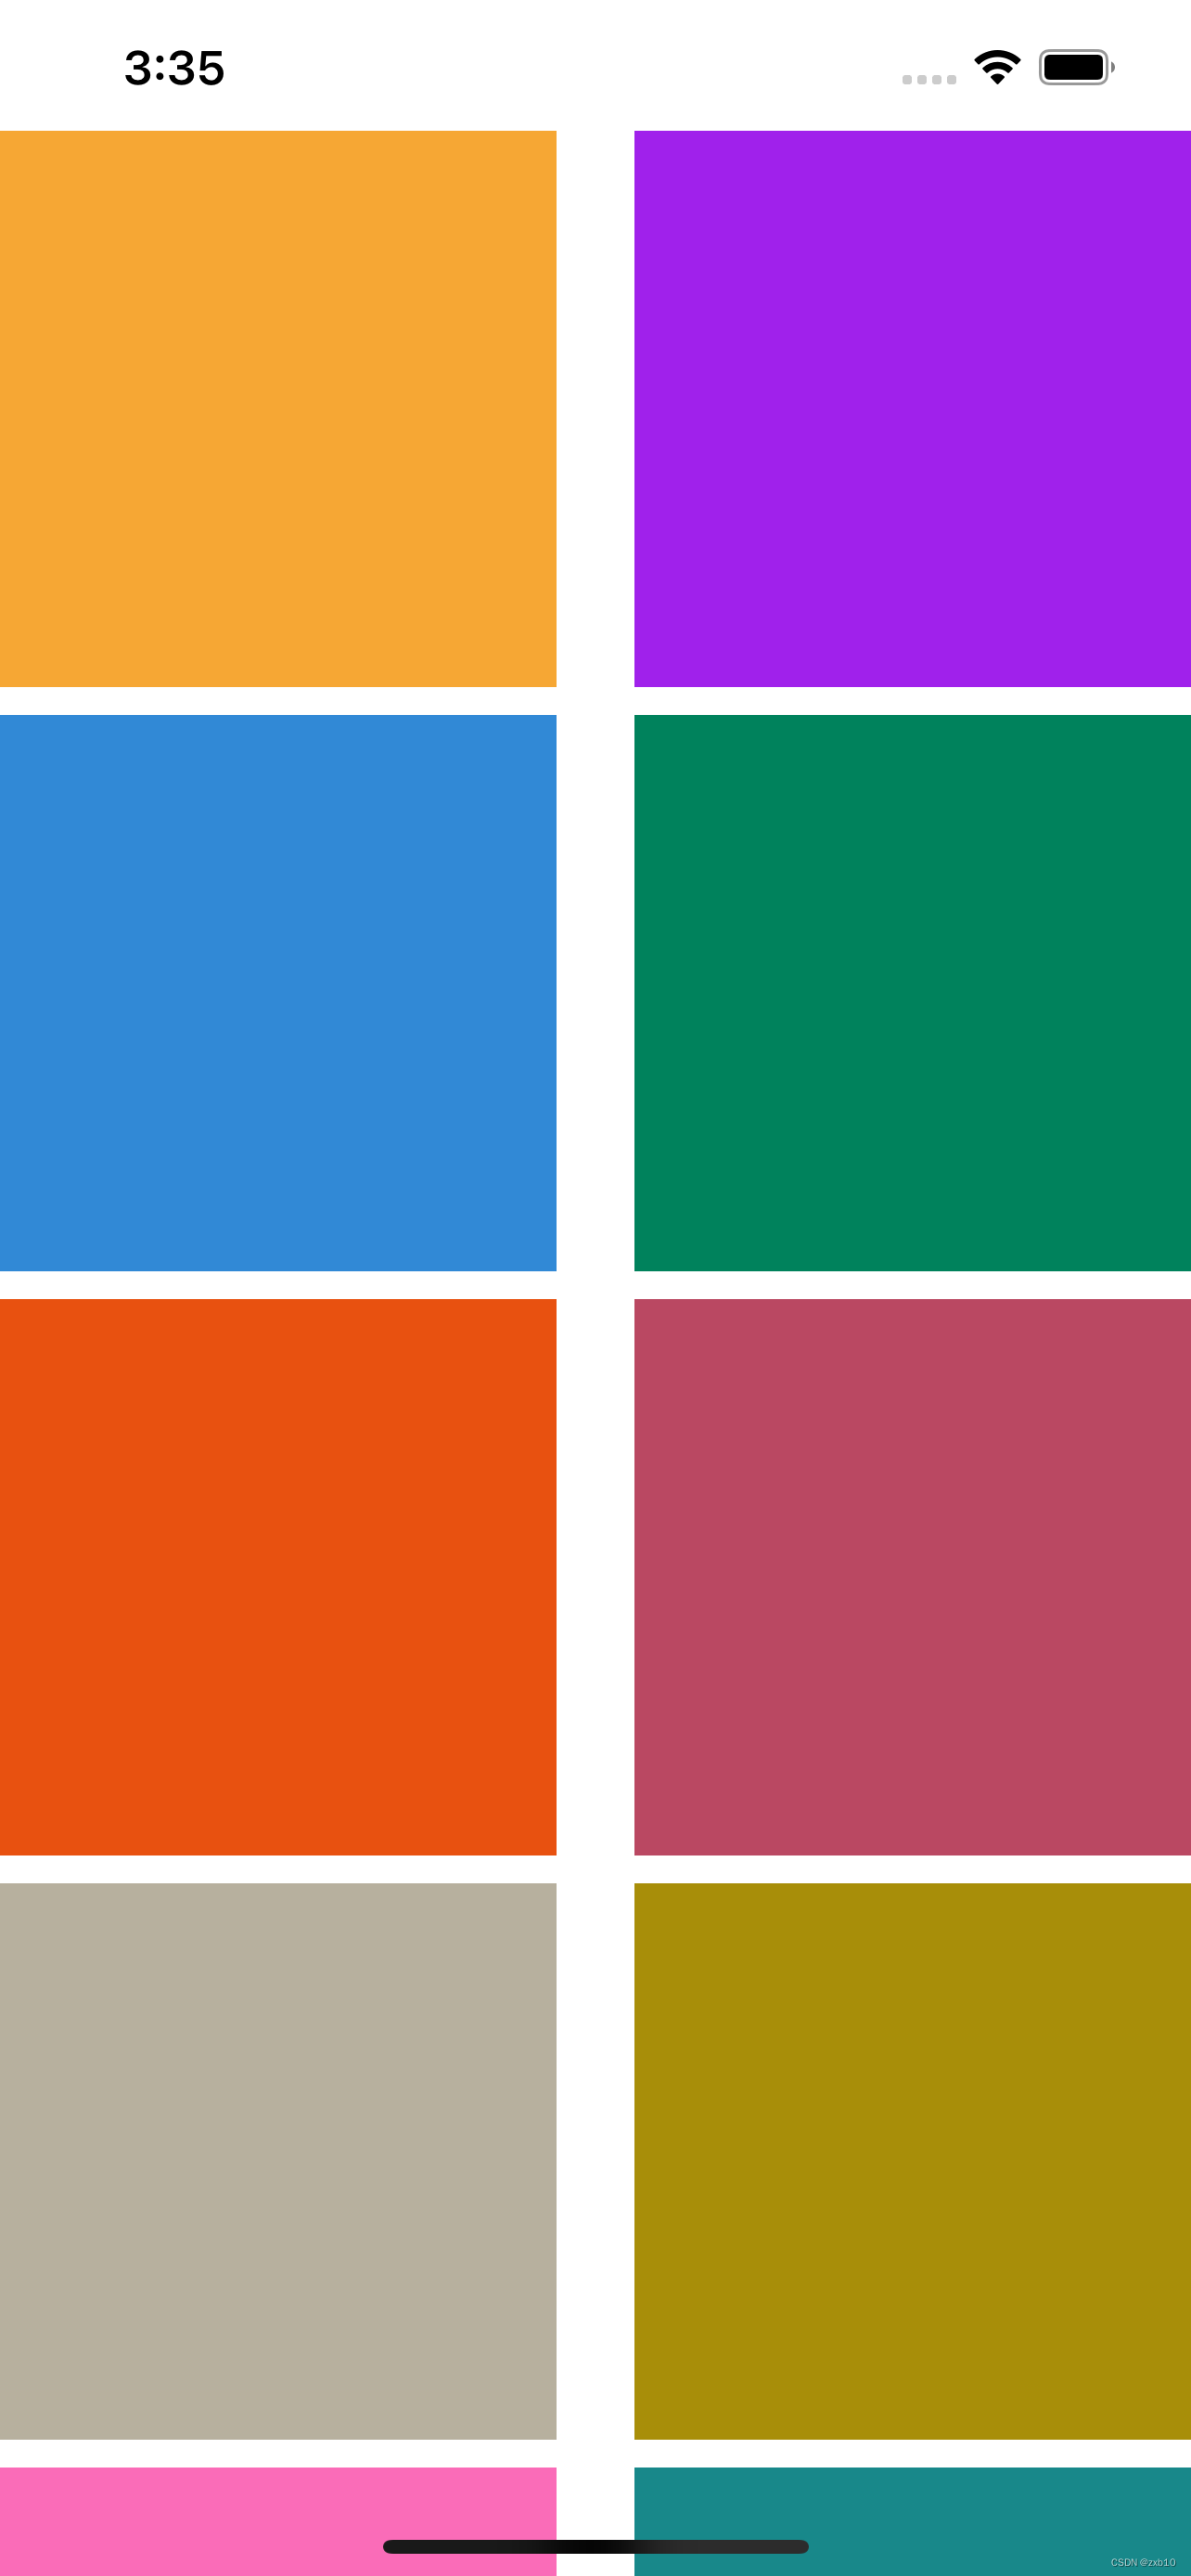
就变成了两个item一行
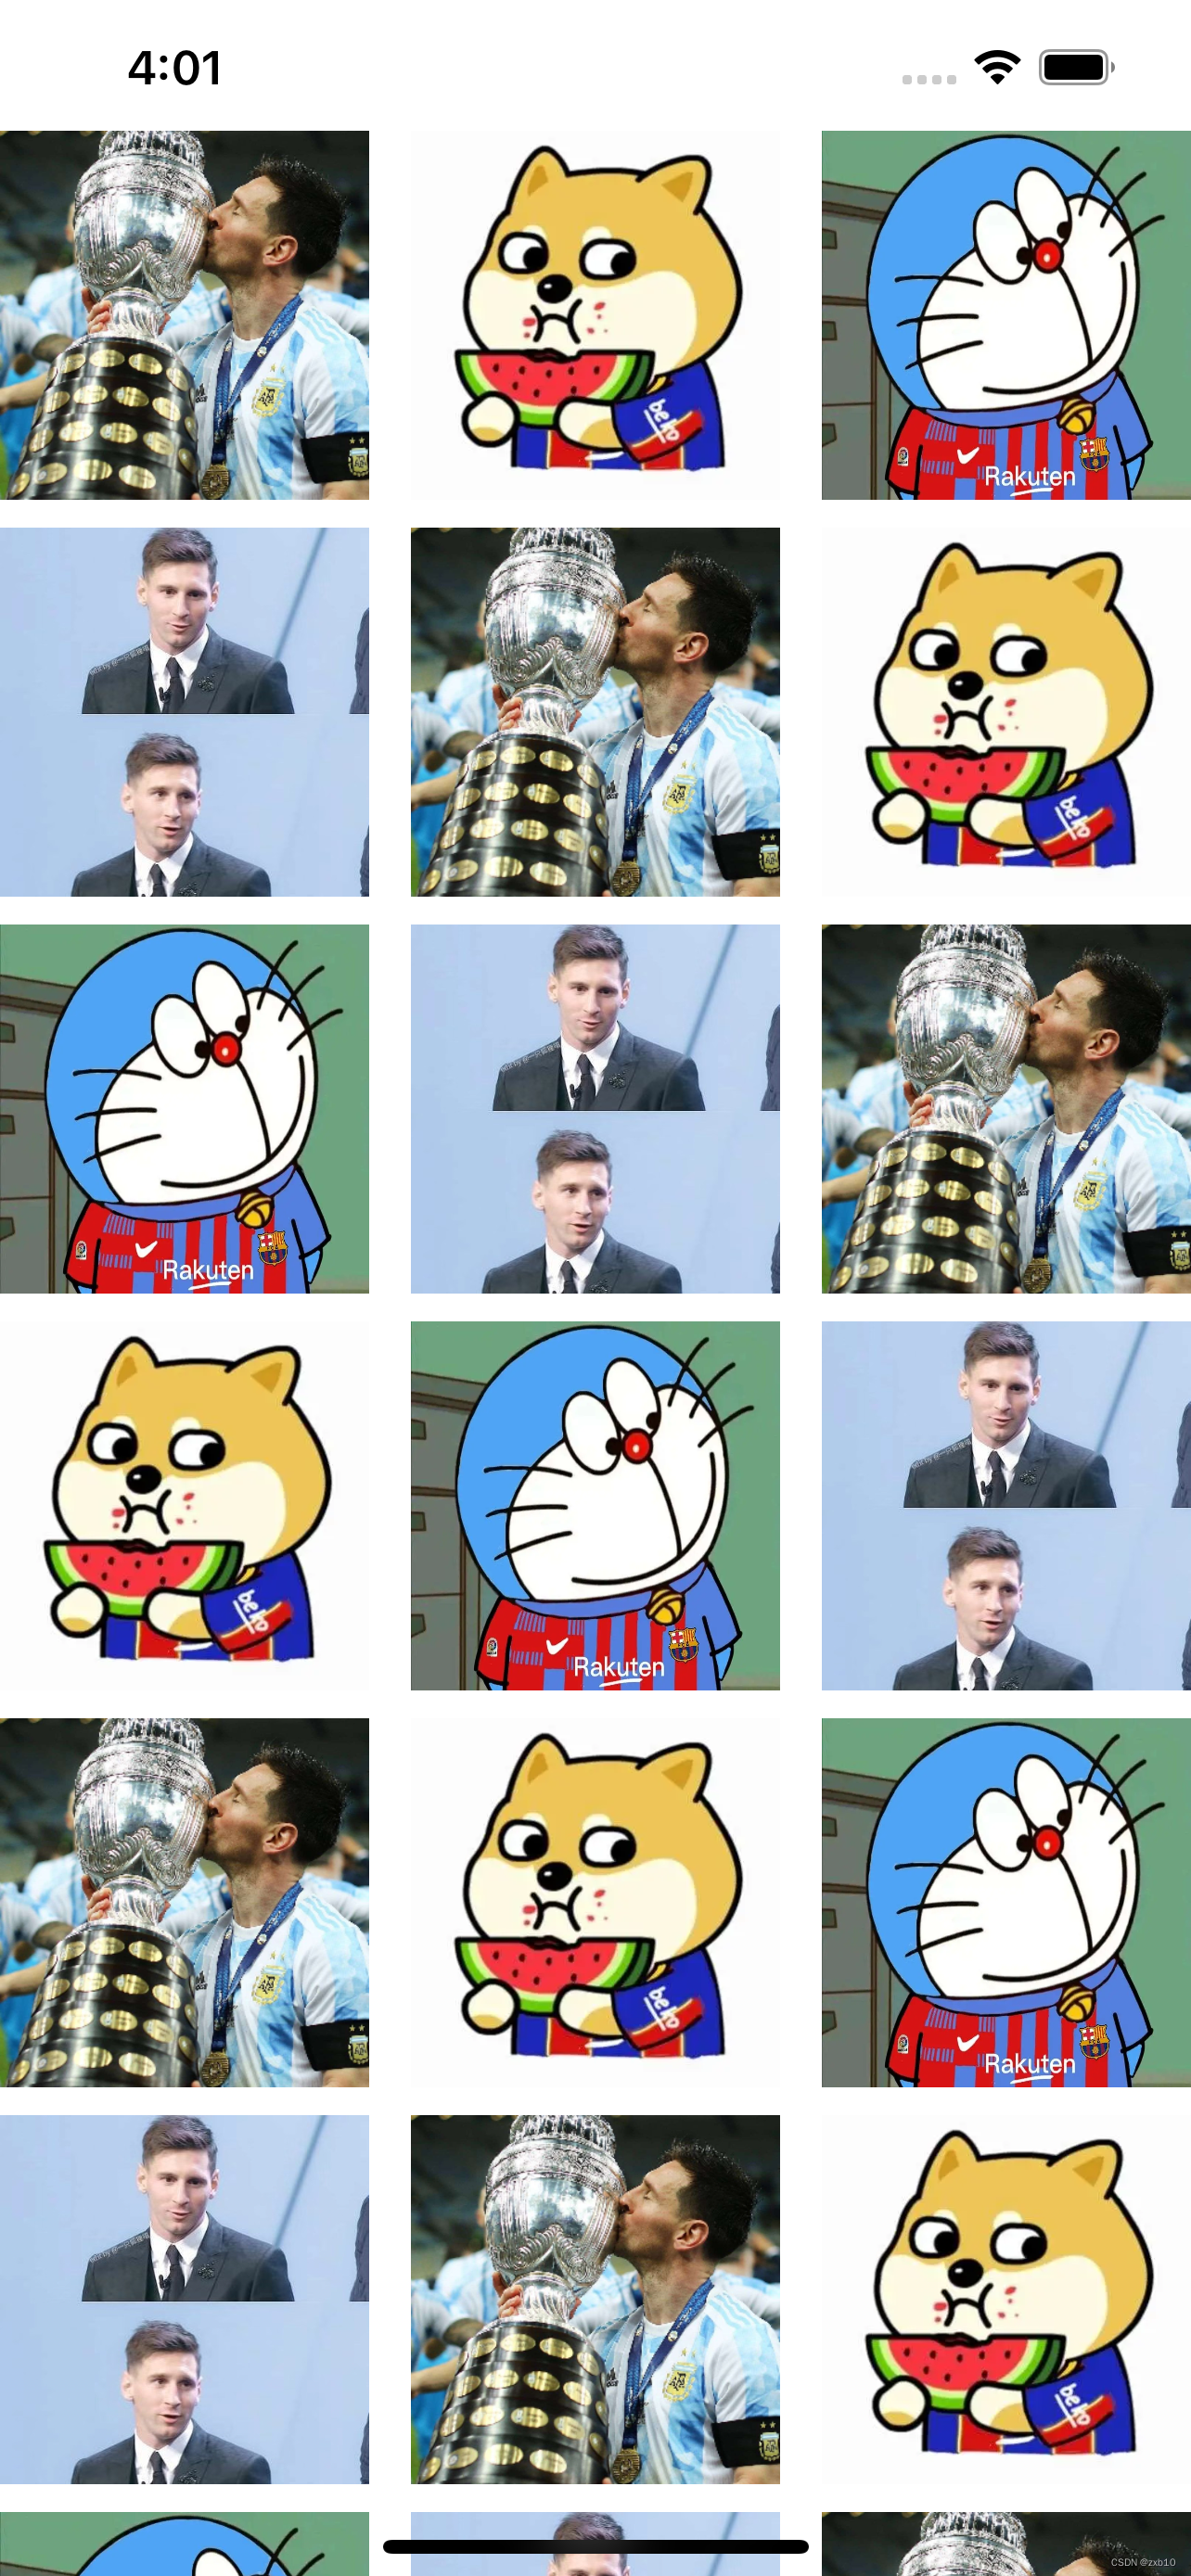
例如九宫格的例子就可以应用于换头像功能,之前在写其他项目的换头像功能时,运用了循环创建button的方法,在学会了collectionView之后就变得简单了很多。
自定义cell
我们把这个改成换头像功能首先要给cell里面添加东西,这个方法和UITableView的自定义cell基本相同,我们在自定义cell里添加一个属性imageView:
@interface MyCollectionViewCell : UICollectionViewCell

@property (nonatomic, strong) UIImageView *mainImageView;

@end
然后在.m里进行初始化和属性设置
#import "MyCollectionViewCell.h"

@implementation MyCollectionViewCell

- (instancetype)initWithFrame:(CGRect)frame {
    self = [super initWithFrame:frame];

    self.mainImageView = [[UIImageView alloc] init];
    [self.contentView addSubview:self.mainImageView];

    return self;
}

- (void)layoutSubviews {
    self.mainImageView.frame = CGRectMake(0, 0, self.frame.size.width, self.frame.size.width);
}

@end
改变viewController里面的协议函数:
//返回每个item
- (UICollectionViewCell *)collectionView:(UICollectionView *)collectionView cellForItemAtIndexPath:(NSIndexPath *)indexPath {


    //UICollectionViewCell *cell = [collectionView dequeueReusableCellWithReuseIdentifier:@"cell" forIndexPath:indexPath];
    MyCollectionViewCell *cell = [collectionView dequeueReusableCellWithReuseIdentifier:@"1" forIndexPath:indexPath];
    //cell.backgroundColor = [UIColor colorWithRed:arc4random() % 255 / 255.0 green:arc4random() % 255 / 255.0 blue:arc4random() % 250 / 250.0 alpha:1];
    [cell.mainImageView setImage:[UIImage imageNamed:[NSString stringWithFormat:@"%ld.jpg", indexPath.row % 4 + 1]]];
    return cell;

}
自定义使用FlowLayout进行灵活布局
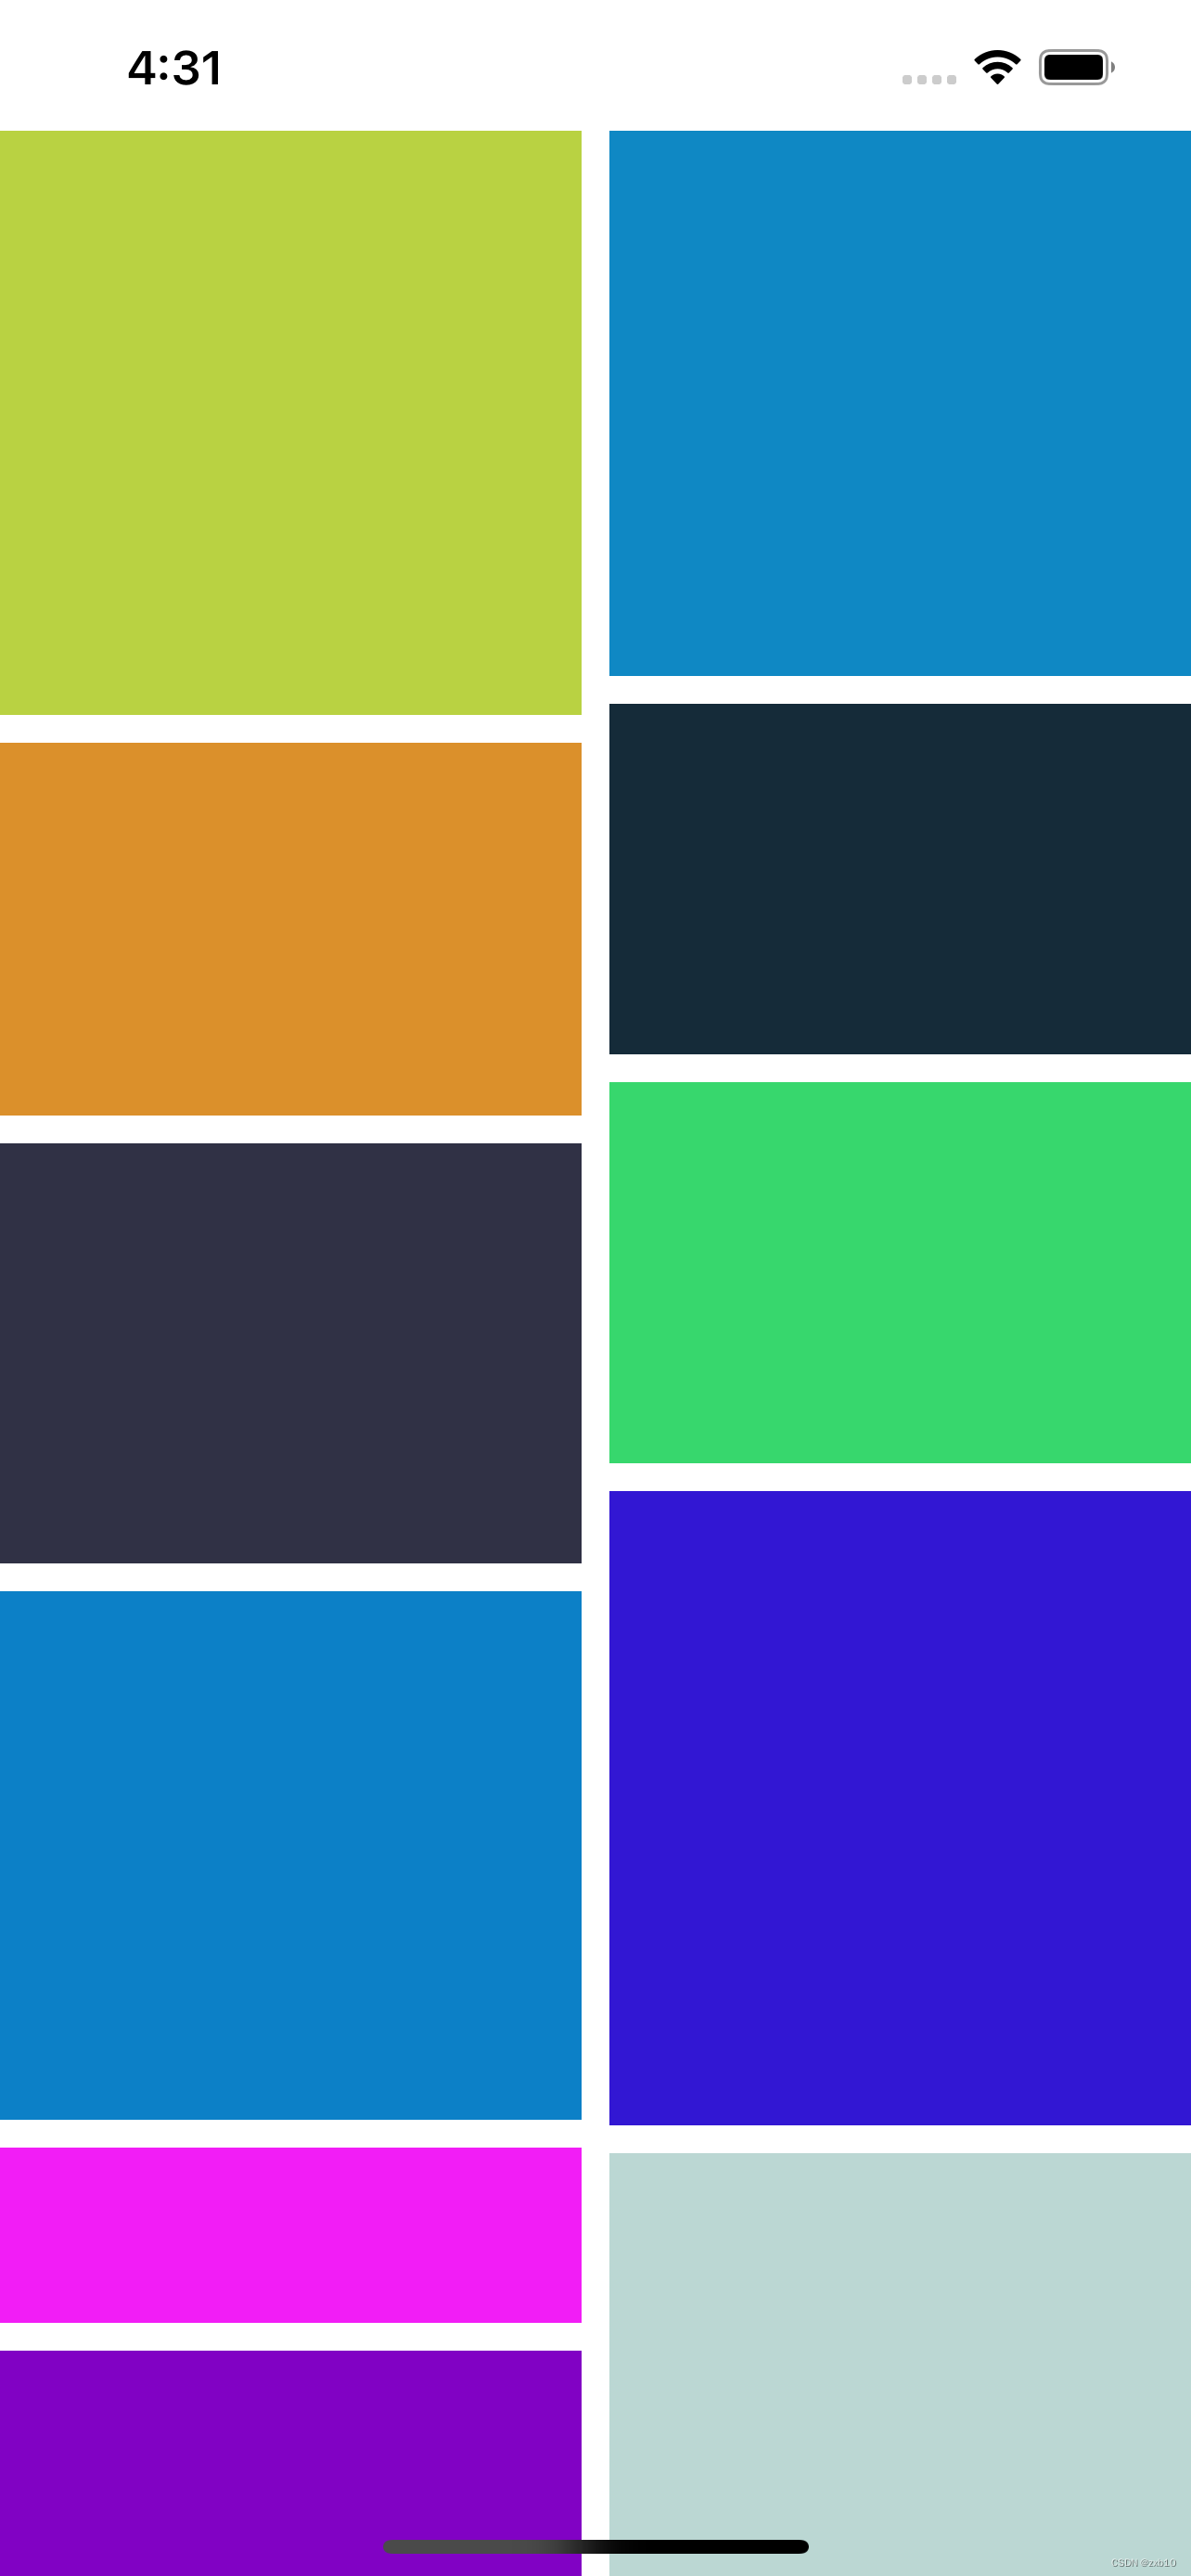
UICollectionView强大的一个原因,就是我们可以制作属于我们的布局,在我们平常刷一些app时,刷新加载的图片大小可能是不确定的,这是使用系统自带的布局是有局限的,所以我们可以自己去创造一个MyLayout类去实现它。
创建一个MyLayout类继承UICollectionViewFlowLayout.
简单来说,自定义一个FlowLayout布局类就是两个步骤:
- 设计好我们的布局配置数据,prepareLayout方法中
- 返回我们的配置数组,layoutAttributesForElementsInRect方法中
🐮1.瀑布式布局
//
//  MyLayout.m
//  UICollectionView高级
//
//  Created by 翟旭博 on 2022/11/7.
//
#import "MyLayout.h"
@implementation MyLayout
//数组的相关设置在这个方法中
//布局前的准备 会调用这个方法
- (void)prepareLayout {
    [super prepareLayout];
    _itemCount = (int)[self.collectionView numberOfItemsInSection:0];
    _attributeArray = [[NSMutableArray alloc] init];
    //设置为静态的2列
    //计算每一个item的宽度
    float itemWidth = ([UIScreen mainScreen].bounds.size.width - self.sectionInset.left - self.sectionInset.right - self.minimumInteritemSpacing ) / 2;

    //定义数组保存每一列的高度
    //这个数组的主要作用是保存每一列的总高度,这个样在布局时,我们可以始终将下一个item放在最短的列下面
    CGFloat colHeight[2] = {self.sectionInset.top, self.sectionInset.bottom};
    //itemCount是外界传进来的item的个数 遍历来设置每一个item的布局
    for (int i = 0; i < self.itemCount; i++) {
        //设置每一个item的位置等相关属性
        NSIndexPath *index = [NSIndexPath indexPathForItem:i inSection:0];
        //创建一个布局属性类, 通过indexPath来创建
        UICollectionViewLayoutAttributes *attris = [UICollectionViewLayoutAttributes layoutAttributesForCellWithIndexPath:index];
        //随意一个高度 在50-250之间
        CGFloat height = arc4random() % 200 + 50;
        //哪一行高度小 则放到哪一列下面
        //标记最短的列
        int flag = 0;
        if (colHeight[0] < colHeight[1]) {
            //将新的item高度加入到短的一列
            colHeight[0] = colHeight[0] + height + self.minimumLineSpacing;
            flag = 0;
        } else {
            colHeight[1] = colHeight[1] + height + self.minimumLineSpacing;
            flag = 1;
        }
        //设置item的位置
        attris.frame = CGRectMake(self.sectionInset.left + (self.minimumInteritemSpacing + itemWidth) * flag, colHeight[flag] - height - self.minimumLineSpacing, itemWidth, height);
        [_attributeArray addObject:attris];
    }
    //设置itemSize来确保滑动范围的正确 这里是通过将所有的item高度平均化,计算出来的 (以最高的列为标准)
    if (colHeight[0] > colHeight[1]) {
        self.itemSize = CGSizeMake(itemWidth, (colHeight[0] - self.sectionInset.top) * 2 / _itemCount - self.minimumLineSpacing);
    } else {
        self.itemSize = CGSizeMake(itemWidth, (colHeight[1] - self.sectionInset.top) * 2 / _itemCount - self.minimumLineSpacing);
    }
}
//返回布局数组
- (NSArray<__kindof UICollectionViewLayoutAttributes *> *)layoutAttributesForElementsInRect:(CGRect)rect {
    return _attributeArray;
}

@end
    // layout布局
    MyLayout *layout = [[MyLayout alloc] init];
    layout.scrollDirection = UICollectionViewScrollDirectionVertical;
    self.collectionView = [[UICollectionView alloc] initWithFrame:self.view.frame collectionViewLayout:layout];
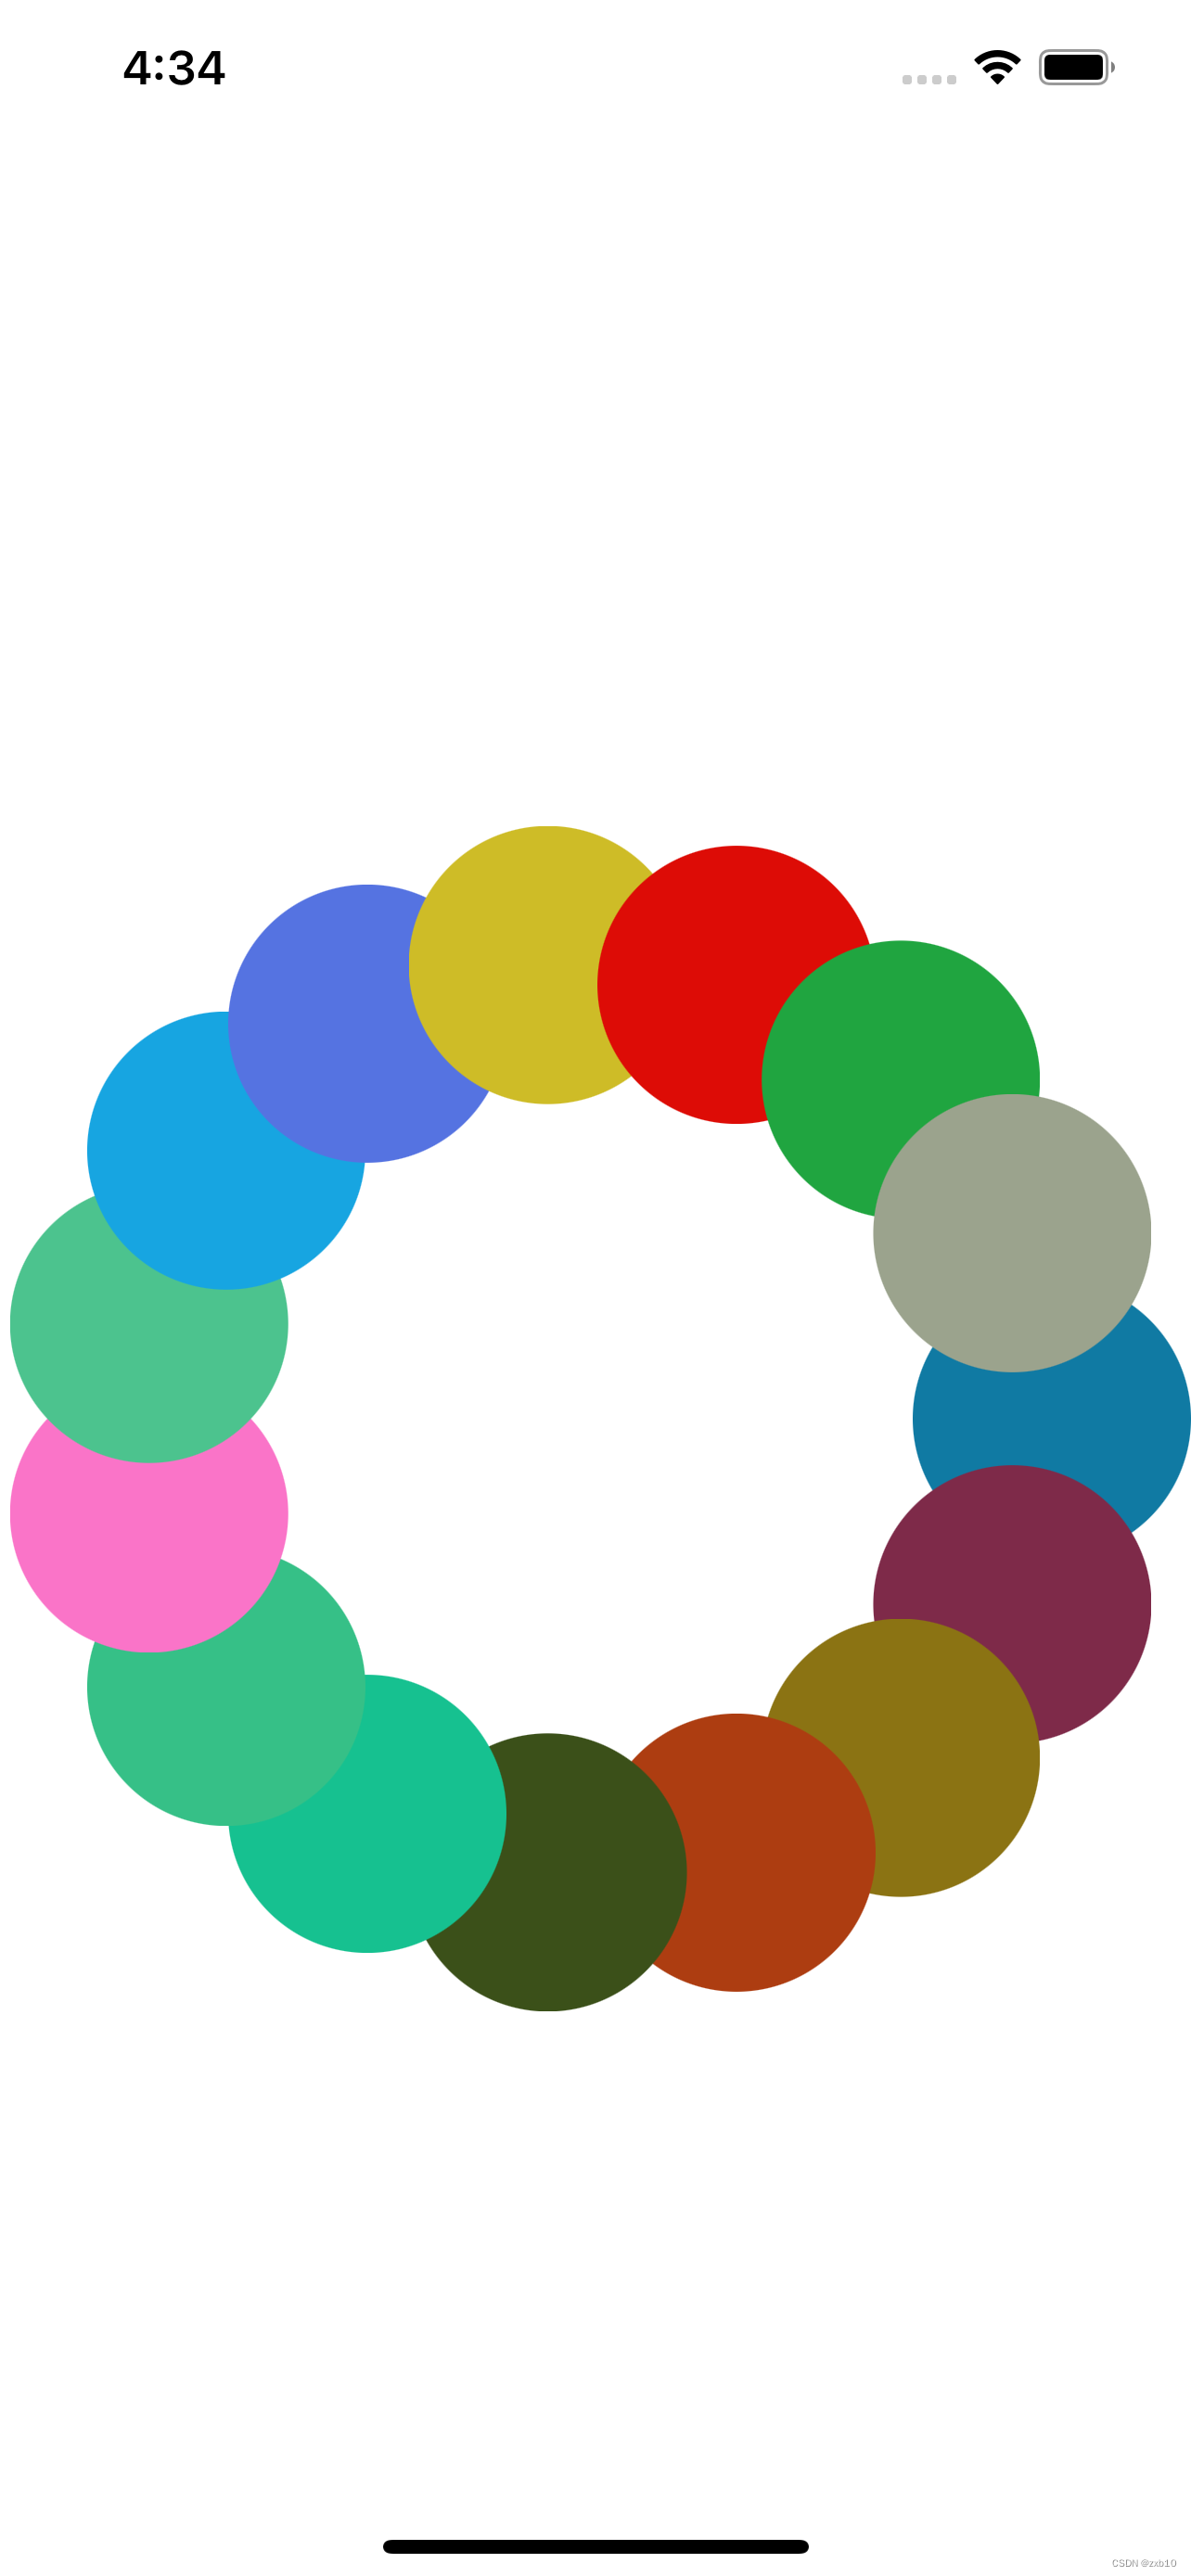
🐮2.圆环式布局
//
//  CircleLayout.m
//  UICollectionView高级
//
//  Created by 翟旭博 on 2022/11/7.
//

#import "CircleLayout.h"

@implementation CircleLayout

- (void)prepareLayout {

    [super prepareLayout];

    //获取item个数
    _itemCount = (int)[self.collectionView numberOfItemsInSection:0];
    _attributeArray = [[NSMutableArray alloc] init];

    //先设定大圆的半径 取长和宽最短的
    CGFloat radius = MIN(self.collectionView.frame.size.width, self.collectionView.frame.size.height) / 2;

    //计算圆心的位置
    CGPoint center = CGPointMake(self.collectionView.frame.size.width / 2, self.collectionView.frame.size.height / 2);

    //设置每个item的大小为50 * 50,半径为25
    for (int i = 0; i < _itemCount; i++) {
        UICollectionViewLayoutAttributes *attris = [UICollectionViewLayoutAttributes layoutAttributesForCellWithIndexPath:[NSIndexPath indexPathForItem:i inSection:0]];

        //设置item大小
        attris.size = CGSizeMake(100, 100);

        //计算每个item的圆心位置
        float x = center.x + cosf(2 * M_PI / _itemCount * i) * (radius - 50);
        float y = center.y + sinf(2 * M_PI / _itemCount * i) * (radius - 50);

        attris.center = CGPointMake(x, y);
        [_attributeArray addObject:attris];
    }
}

//设置内容区域大小
- (CGSize)collectionViewContentSize {
    return self.collectionView.frame.size;
}

//返回设置数组
- (NSArray<__kindof UICollectionViewLayoutAttributes *> *)layoutAttributesForElementsInRect:(CGRect)rect {
    return _attributeArray;
}

@end

![[附源码]计算机毕业设计JAVAjsp毕业设计管理系统](https://img-blog.csdnimg.cn/48bc3648468d49649a4484a34e86b0b9.png)