swift版本:3.0
Xcode版本:8.0
iOS版本:10.0
自iOS10 和swift3.0 之后,苹果的访问CoreData的方法发生了很大改变,简洁了许多,下面的内容是从0开始建立一个entity,并实现其存储和读取的功能。
注:这个是一种convenience方法,即快速实现。所以并不需要新建对应于entity的class
1.新建工程
没什么好说的,勾选 Use Core Data
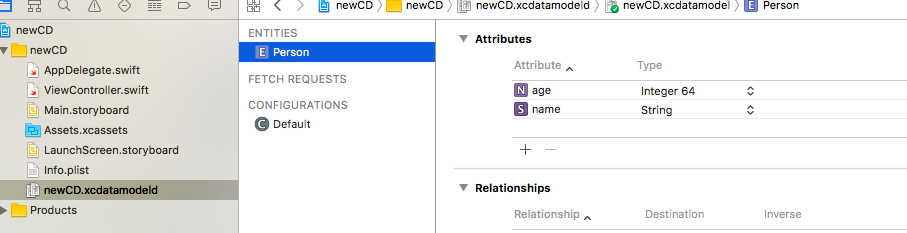
2.打开xcdatamodeld文件,新建一个entity,我们叫它Person,然后在右侧的Attributes里面增加属性,这里添加了name和age两个属性,type自选
3.获取Context,为了方便使用,这里封装成一个函数
注意!!:在对应的swift文件内需要先 import CoreData
    func getContext () -> NSManagedObjectContext {
        let appDelegate = UIApplication.shared.delegate as! AppDelegate
        return appDelegate.persistentContainer.viewContext
    }
4.存储一条新数据
func storePerson(name:String, age:Int){
       let context = getContext()
       // 定义一个entity,这个entity一定要在xcdatamodeld中做好定义
       let entity = NSEntityDescription.entity(forEntityName: "Person", in: context)

       let person = NSManagedObject(entity: entity!, insertInto: context)

       person.setValue(name, forKey: "name")
       person.setValue(age, forKey: "age")

       do {
       try context.save()
           print("saved")
       }catch{
           print(error)
       }
}
5.获取entity的全部内容
// 获取某一entity的所有数据
func getPerson(){
let fetchRequest = NSFetchRequest<NSFetchRequestResult>(entityName: "Person")
do {
let searchResults = try getContext().fetch(fetchRequest)
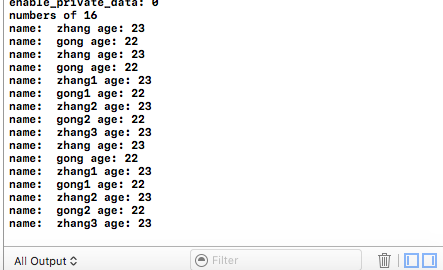
print("numbers of \(searchResults.count)")
for p in (searchResults as! [NSManagedObject]){
print("name: \(p.value(forKey: "name")!) age: \(p.value(forKey: "age")!)")
}
} catch {
print(error)
}
}这样数据就可以完全的写入APP内部了
放上完整demo的链接
完整demo下载
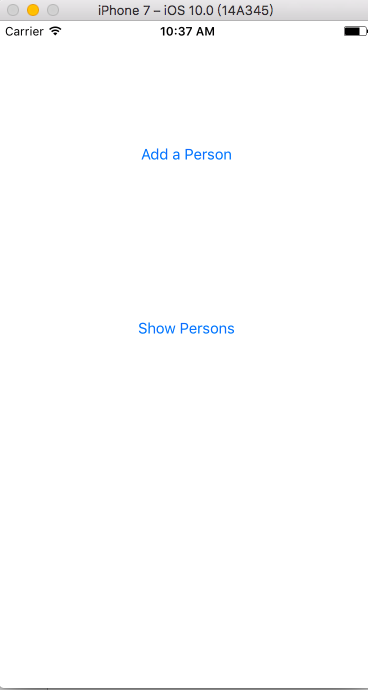
效果截图
参考:
https://learnappdevelopment.com/uncategorized/how-to-use-core-data-in-ios-10-swift-3/